
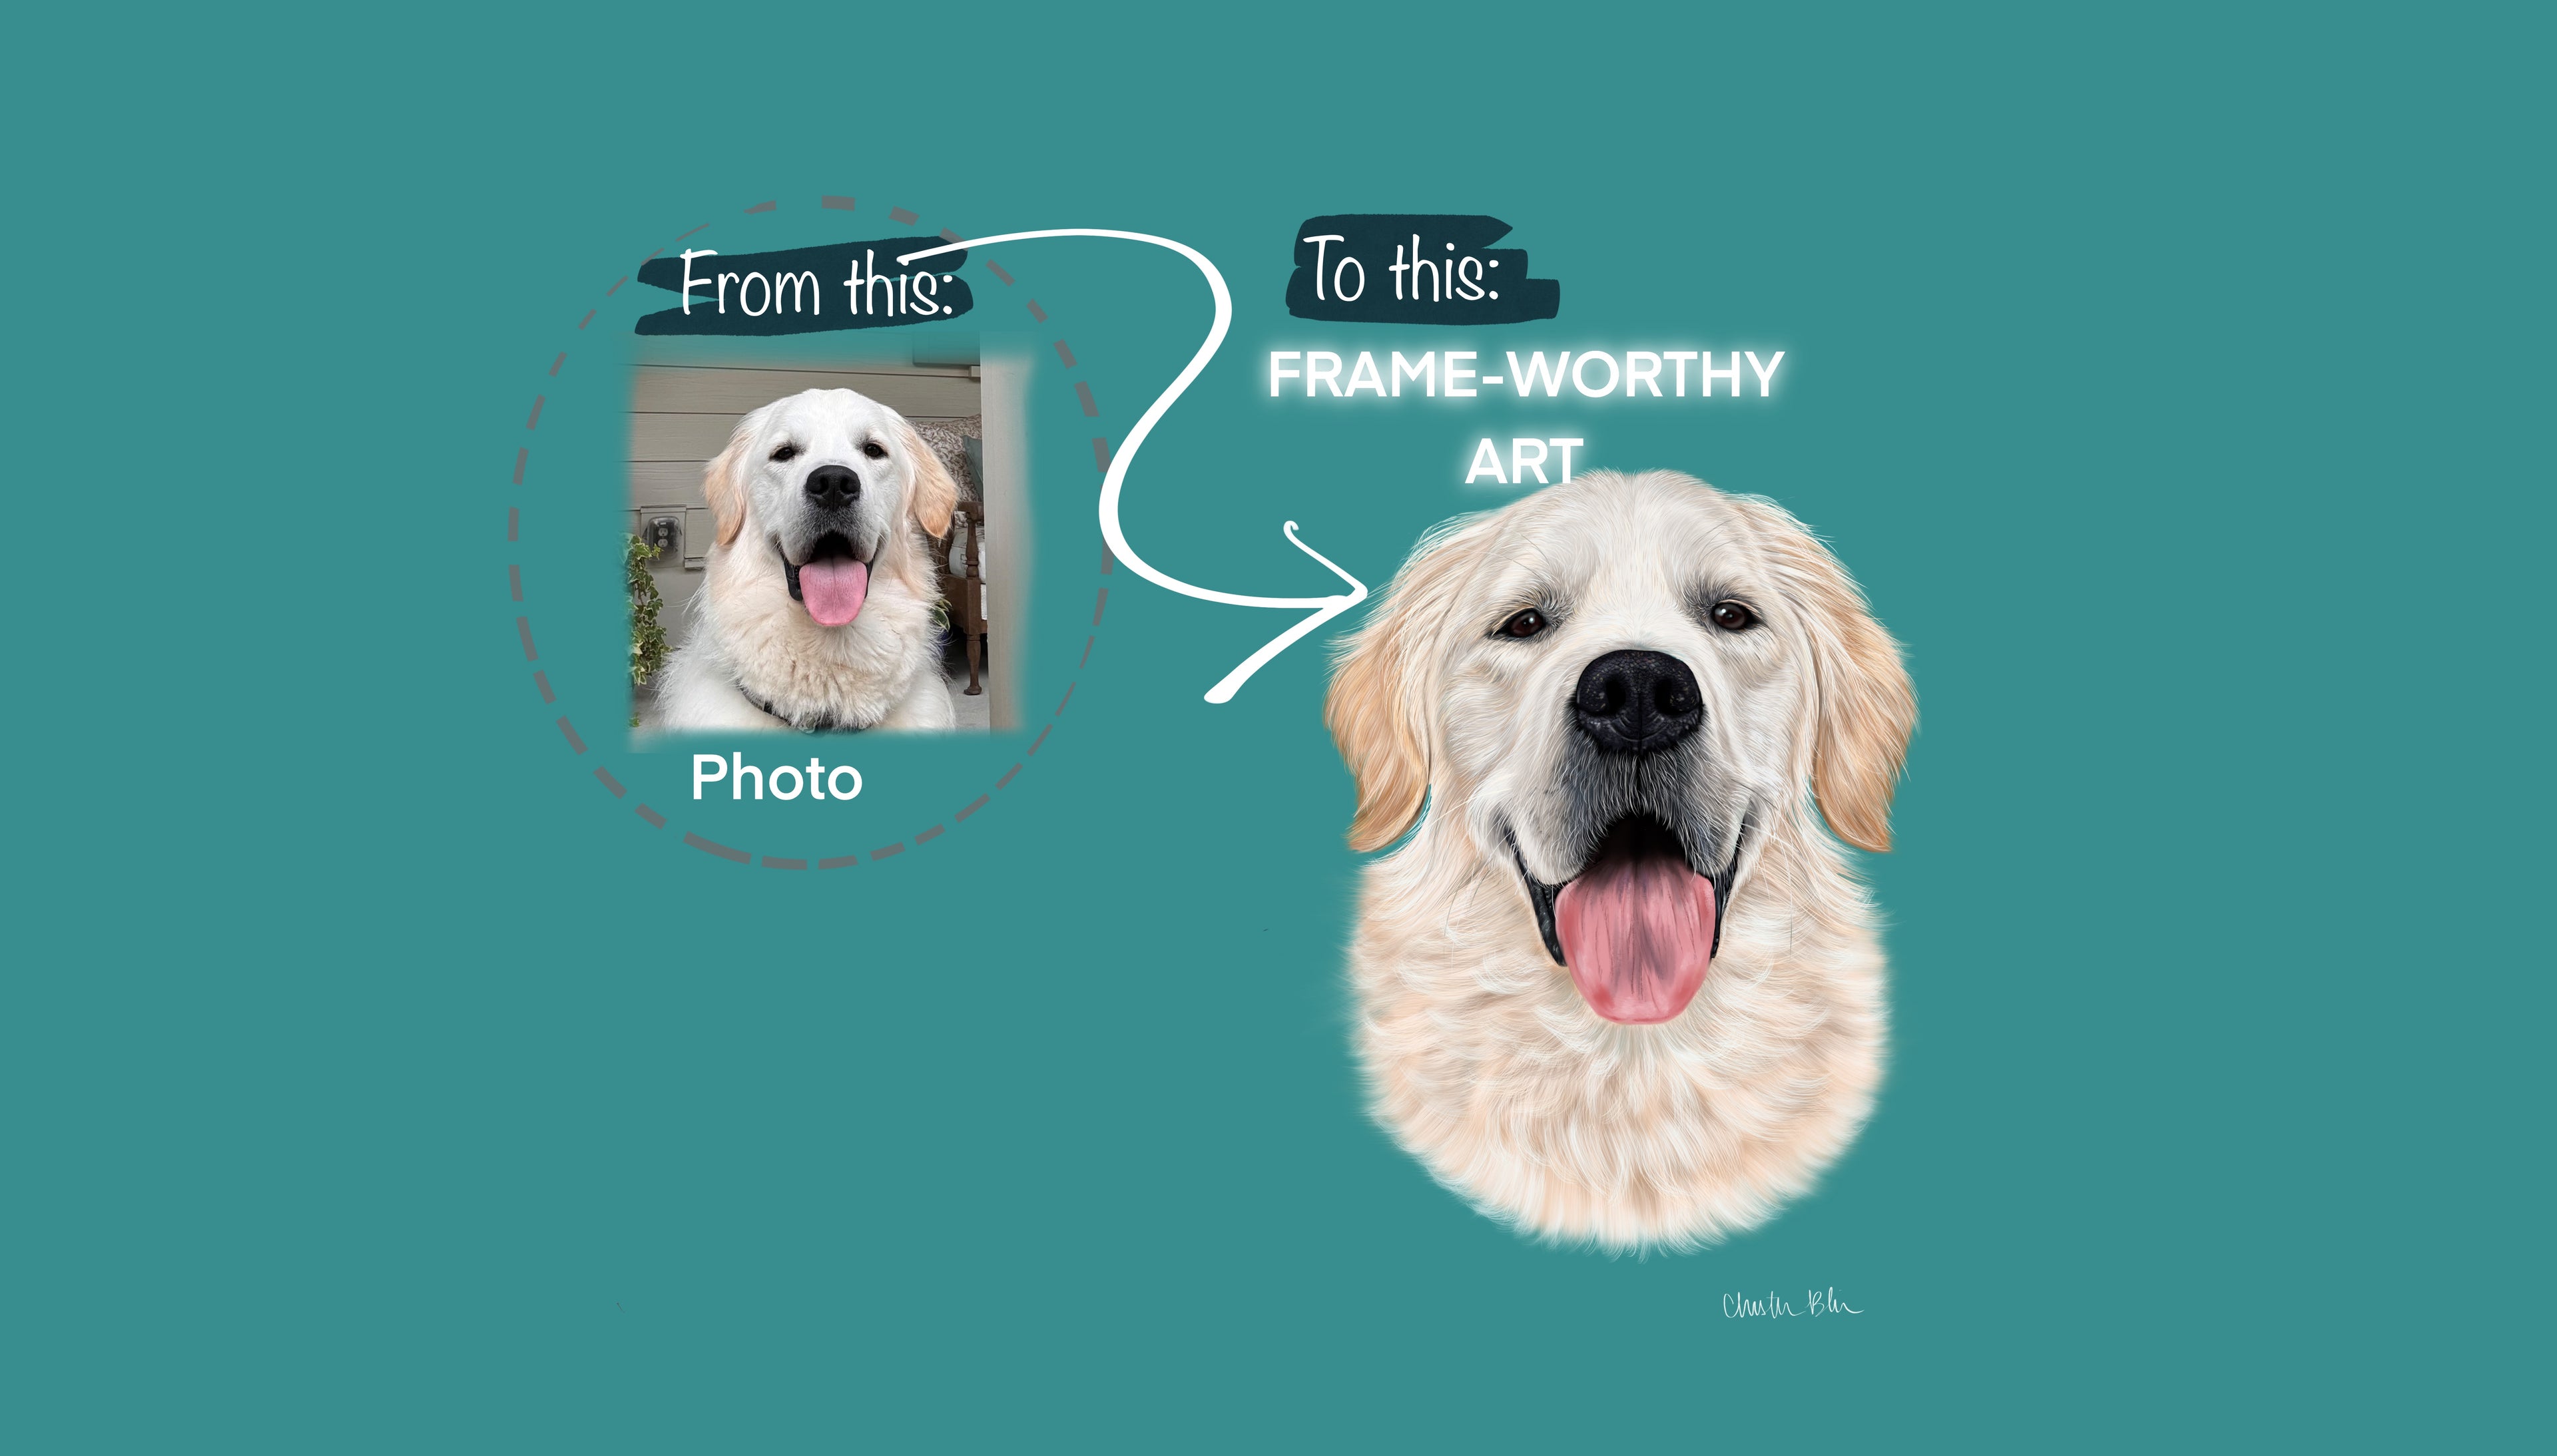
Inside My Process for Realistic Style Portraits
Define
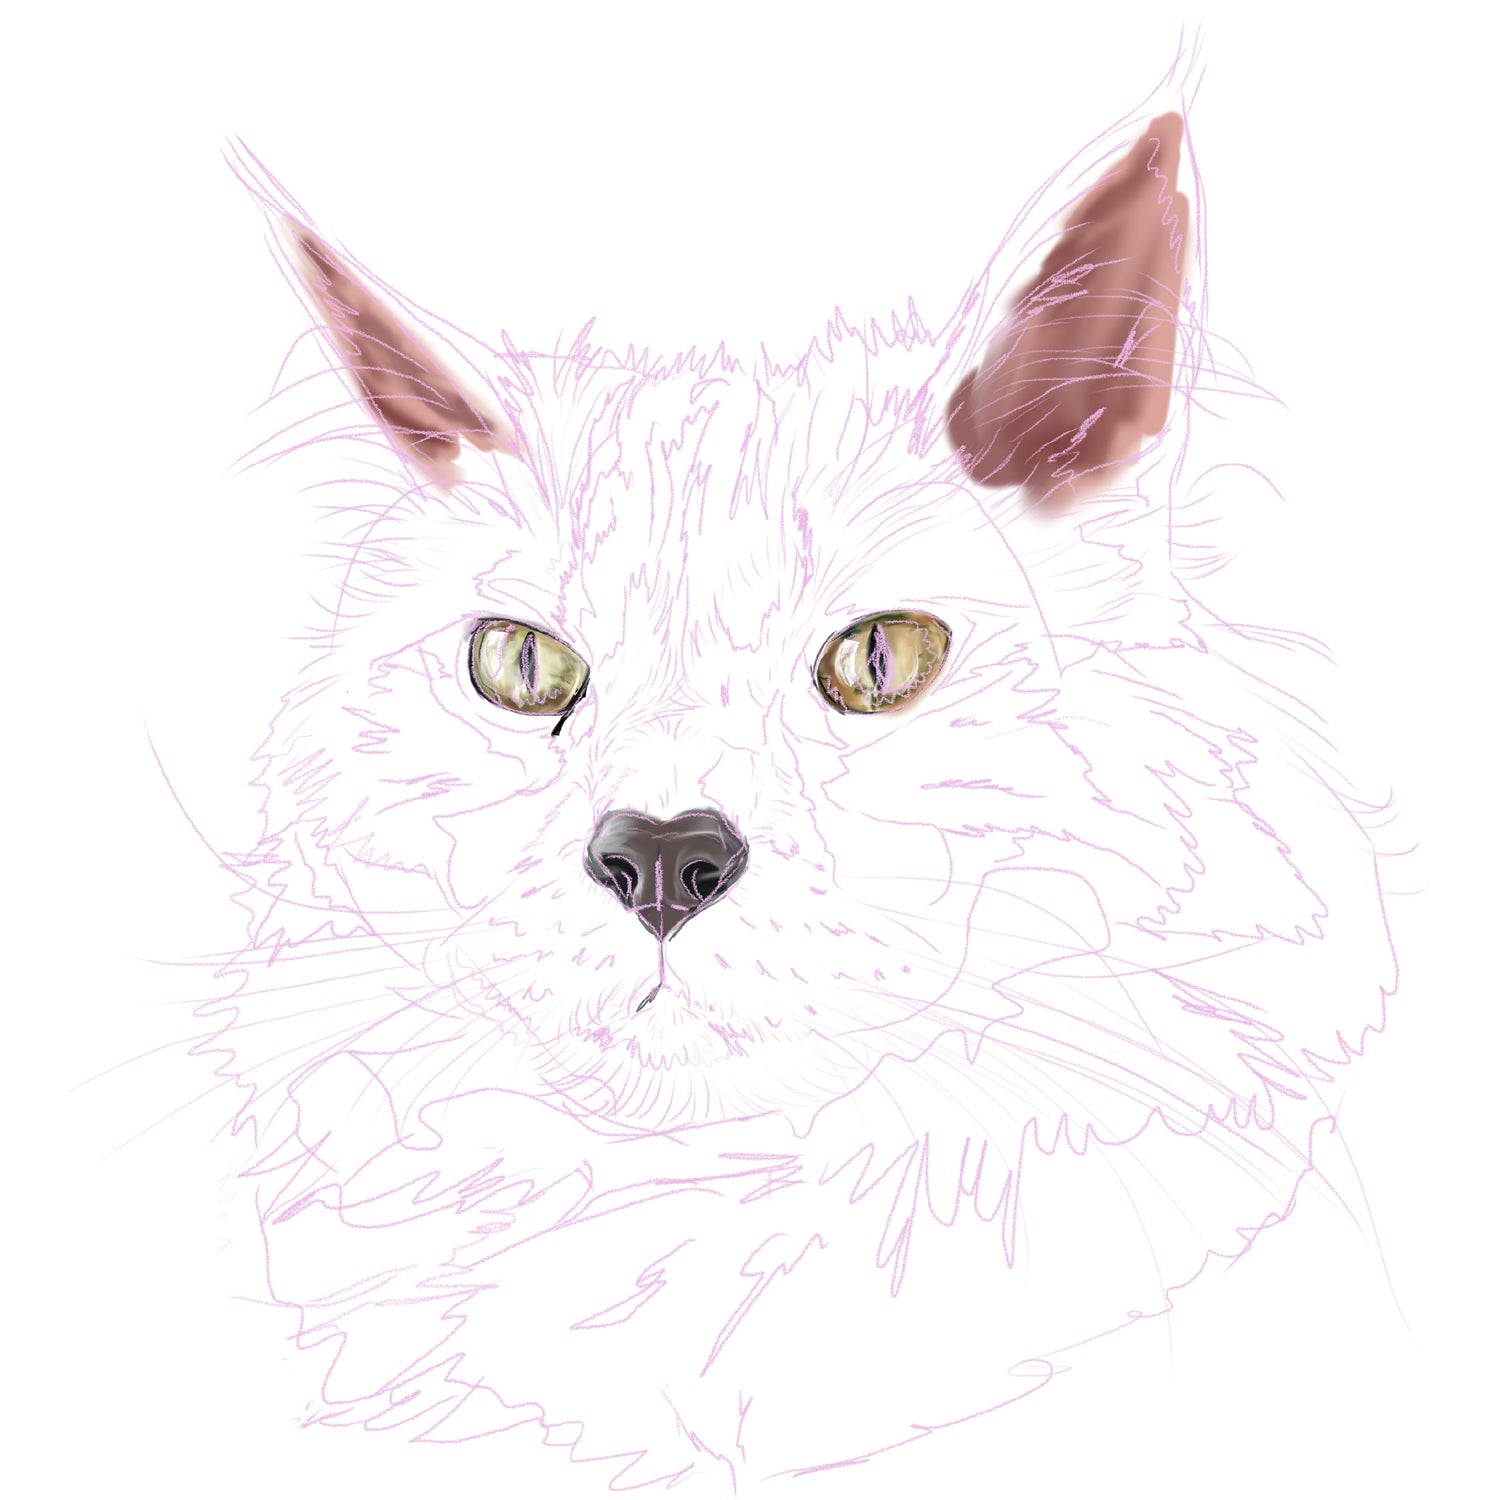
Step 1
Using the photos you send as reference(s), I'll sketch out your pet's glorious features onto an outline layer, noting shadows and areas of dark fur. I'll reference this layer throughout my painting process to make sure my placement is on track. Typically starting with the eyes and nose, I begin to draw/paint, adding vibrant color to my empty "canvas". Using the airbrush, flat brush, and technical pen in procreate, the digital pet portrait begins to take shape.
Form
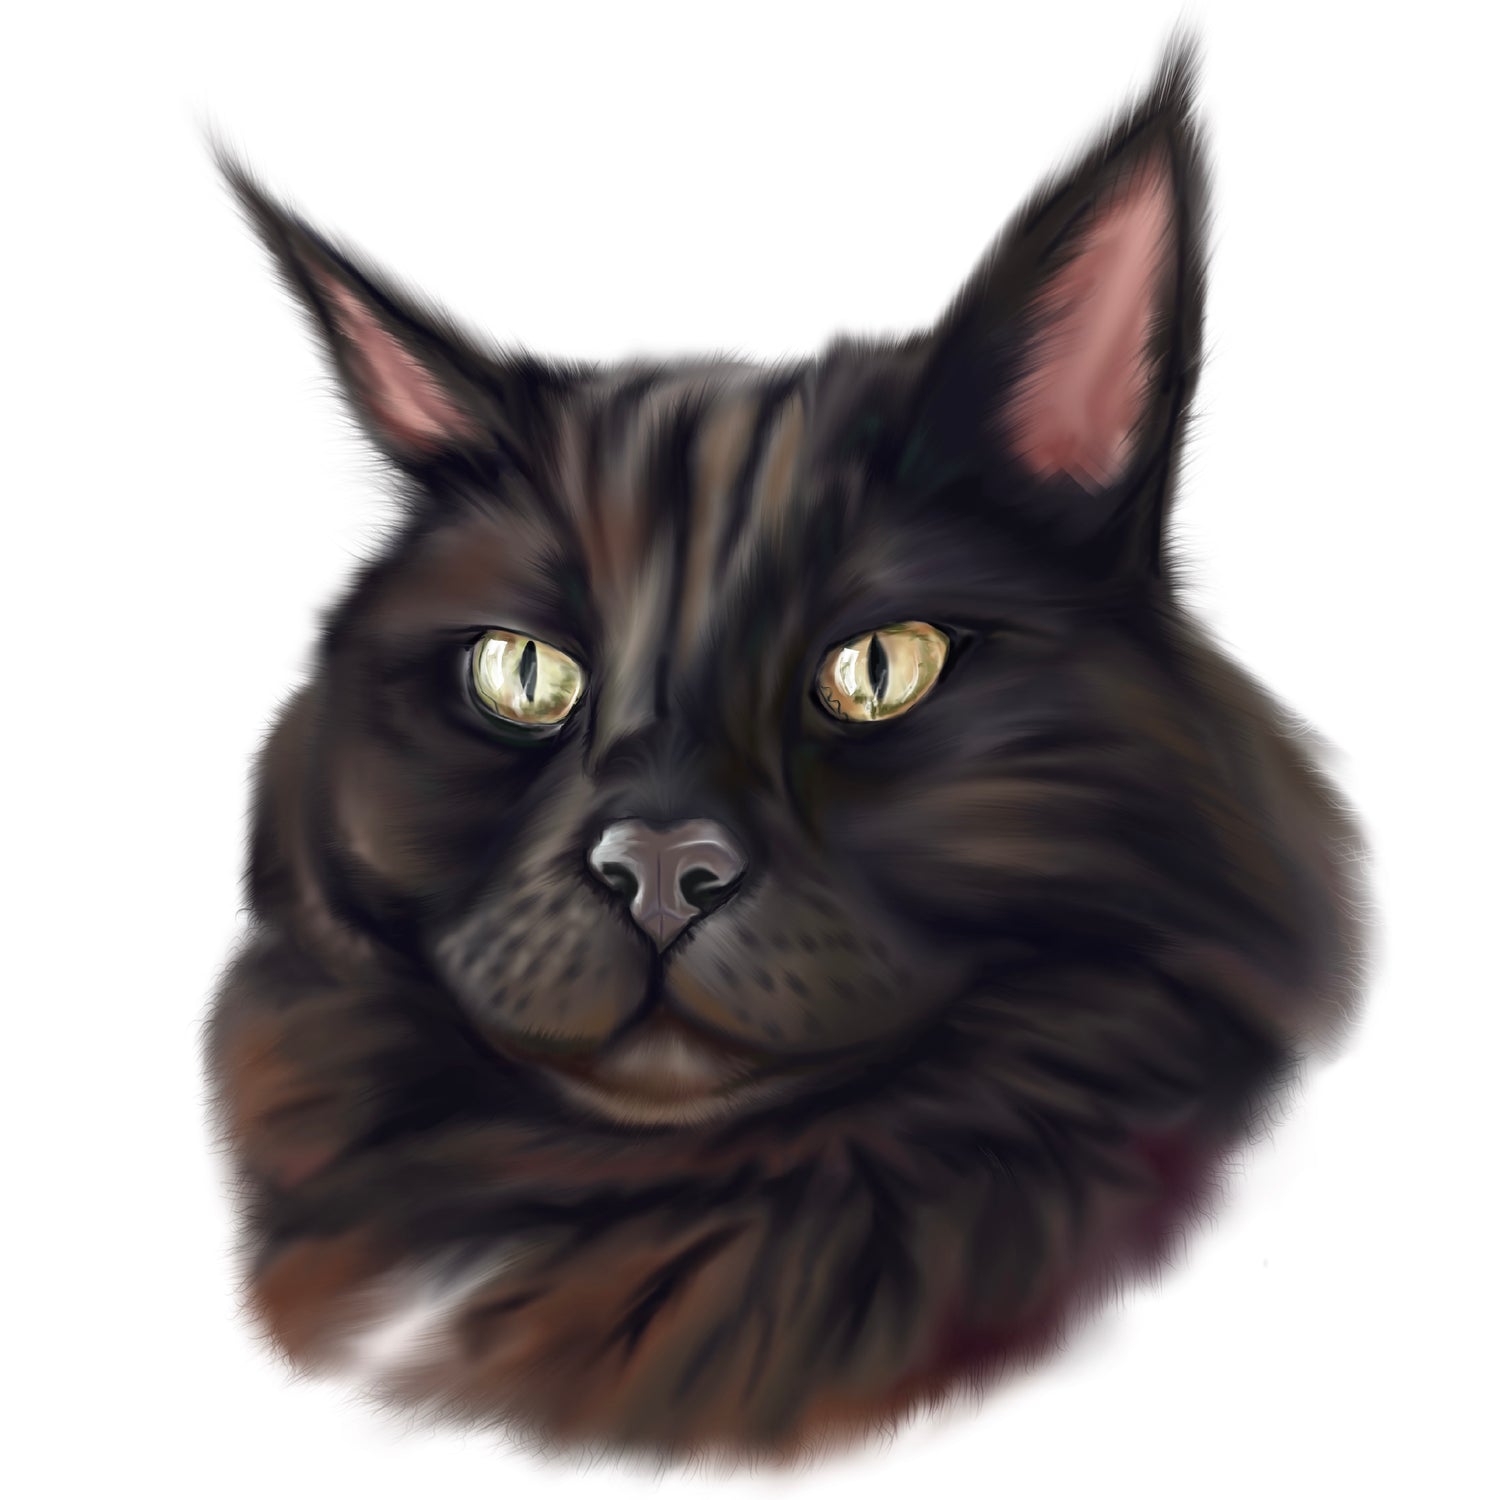
Step 2
Next, I airbrush in your pet's luxurious coat- light areas, dark areas, and shadows- layering in colors that are true to fur coat based on the photographs you include. All sorts of colors in tiny places are needed in this stage, you'll notice a spectrum when you take a closer look at your artwork. The dimension of the piece noticeably begins to take form as I transition areas of light into dark and vice versa.
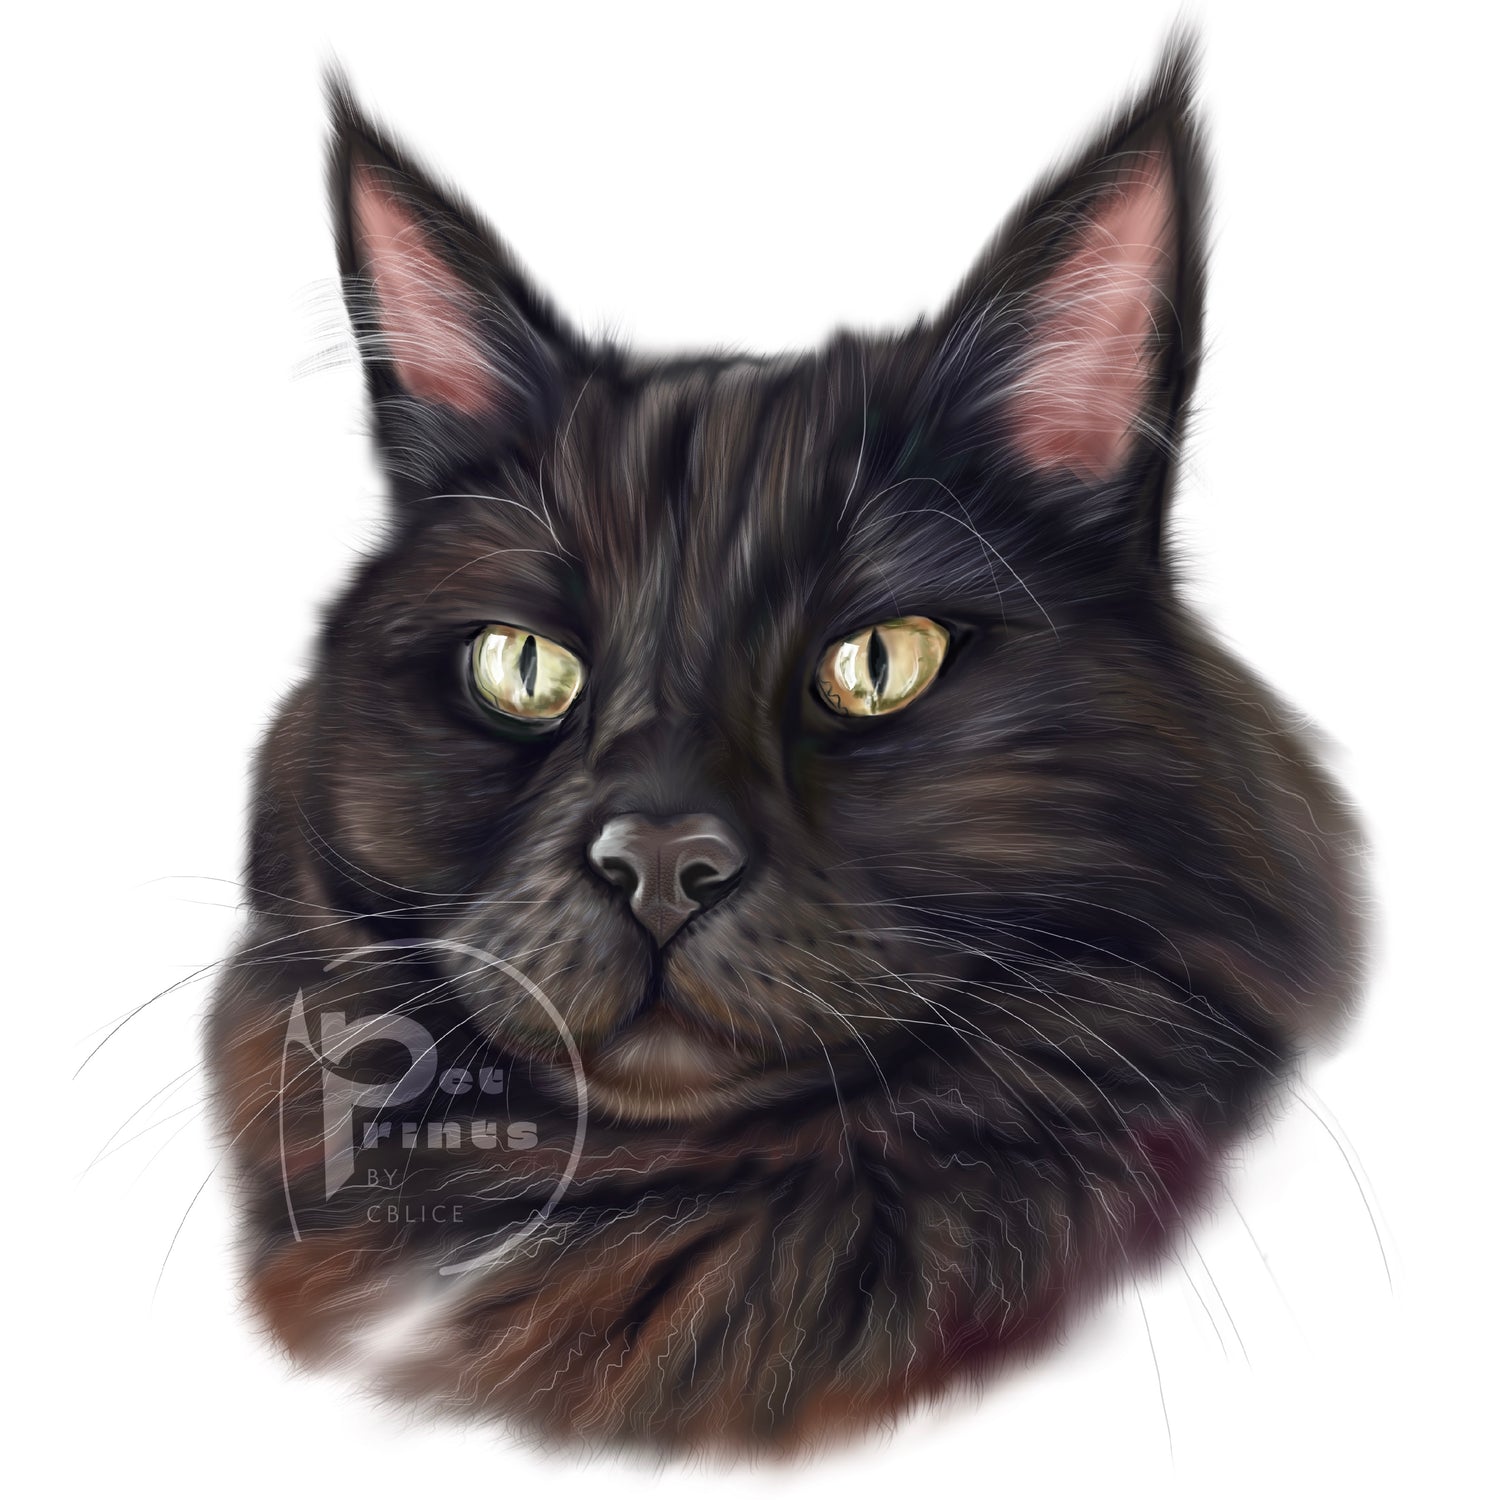
Refine